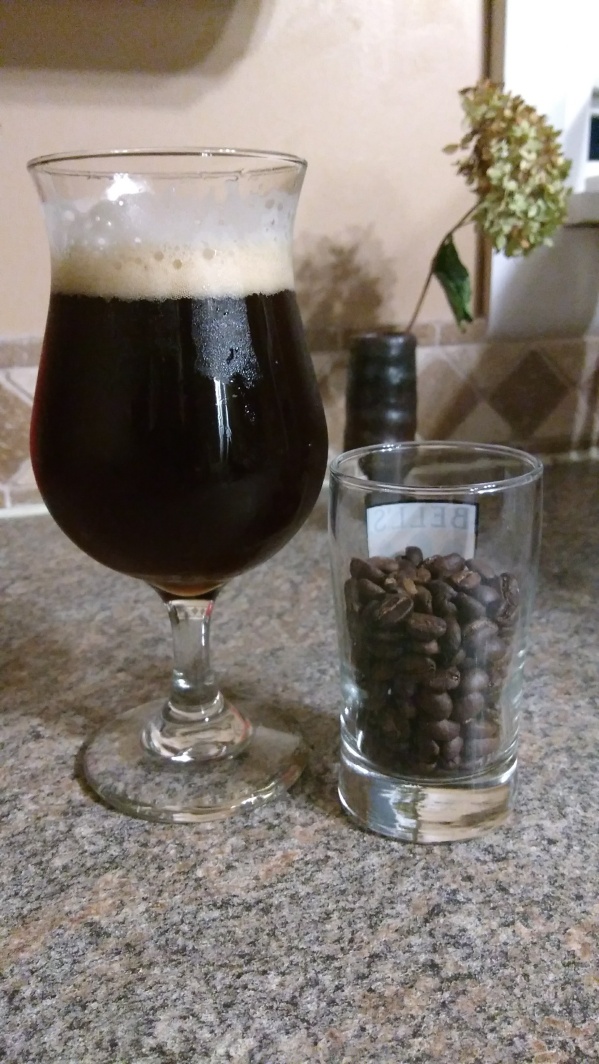
Trying to make an original beer, I thought ‘Special B’ barley would pair nicely with a Belgian yeast and home roasted coffee. Special B, described as heavy caramel and raisin-like, is delicious in Russian Imperial Stouts. I wanted that malt to shine. Next, I thought a nice subtle Belgian yeast – maybe a Belgian Strong yeast – would give sophistication, dryness, and a little spicy clove. I wasn’t going for banana, like a Trappist or Abbey. Finally, I thought coffee with play nice with the raisin and dark fruit, so I chose a bright African coffee, Ethiopian Agaro: nectarine, dark berry, plum, citrus rind. I roasted it fairly light, giving it some pop.
This post is so pretentious.
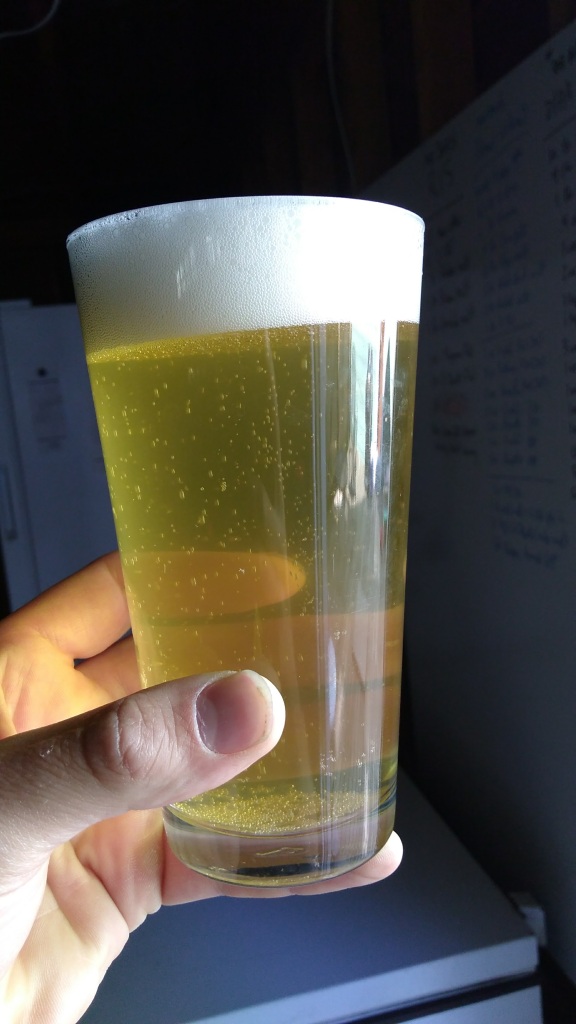
The first draft is good, but I have a few revisions. The yeast, a dry Belgian yeast, doesn’t offer anything. Next time, I’ll use a liquid Belgian Strong. I don’t like the Maris Otter. It gives it a super malty, chewy character that tastes like an English Barleywine. It smells a little dirty and muddled. I want it to be more crisp and clean, so I’ll use 2-row or Pilsner next time. I might dial back the Special B just a bit, not sure about that. Yeah, it’s a bit too sweet. More hops might remedy that. The coffee was essentially dry hopped while cold crashing for two days. It floated, so I would put it in a muslin bag next time. Maybe a medium roast would be better, with more floral perfume notes. The hops are nonexistent; I wanted it malty, but perhaps the ounce of Columbus should be at 30 minutes instead of 15, to balance out the malty sweetness. It finished at 1.020. I’m looking forward to version 2, which is the only reason I posted this time (I’ve made several beers since last time, including another tasty Maharaja DIPA clone).
Coffee & Raisins
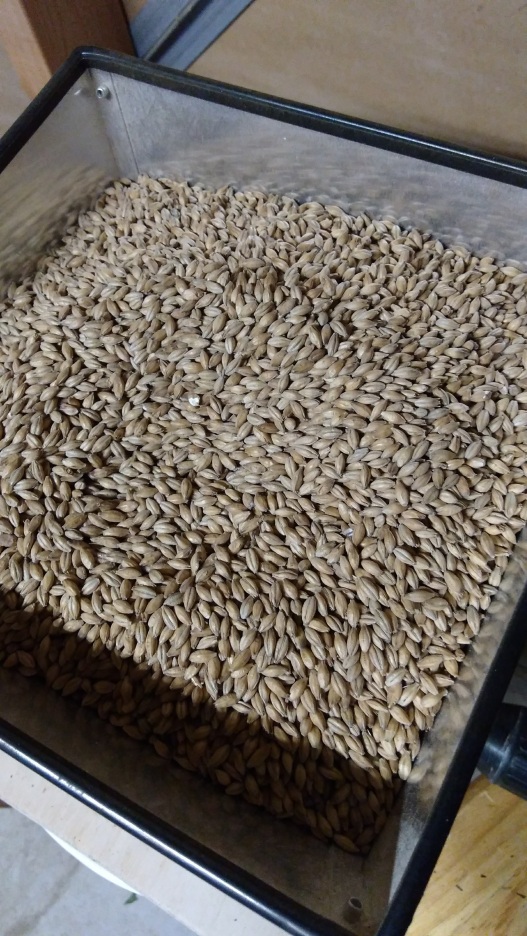
12 lb Maris Otter
2 lb Special B
.5 lb C-120
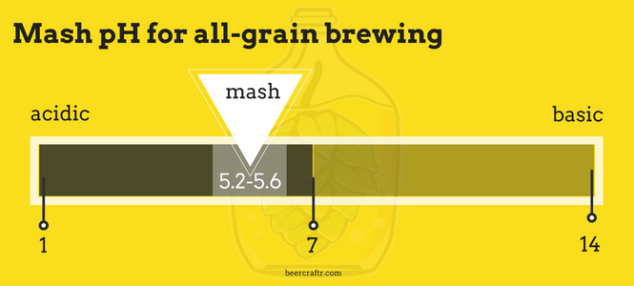
(30 minute mash)
2 lb Sugar
1 oz Columbus FW (15 minute)
1 oz Cascade 5m
(30 minute boil)
Safebrew T-58
Agaro coffee (dry hopped while cold crashing), City+, about 2 oz which means a little less than 4 cups on my grinder setting, coarse ground and dumped directly into beer.